
There are few hairstyles as effortlessly chic and universally flattering as the slicked bun. This polished, sophisticated look has become a go-to for supermodels, A-list celebrities, and fashion enthusiasts alike, transitioning seamlessly from the runway to everyday life. It is the ultimate “clean girl” hairstyle, celebrated for its ability to look put-together with minimal effort. Whether you need a sleek look for a formal event or a quick, stylish solution for second-day hair, this hairstyle delivers.
Mastering this look requires more than just pulling your hair back. It is an art form that involves the right products, tools, and techniques to achieve that flawlessly smooth, high-gloss finish without flyaways. In this comprehensive guide, we will provide a step-by-step tutorial on creating the perfect slicked bun, offer tips for different hair types, and recommend the best products to ensure your style lasts all day. Get ready to elevate your hair game.
Why the Slicked Bun is a Timeless Classic
The enduring popularity of the slicked bun is no accident. It offers a unique combination of aesthetic appeal and practicality that makes it a staple hairstyle for any occasion.
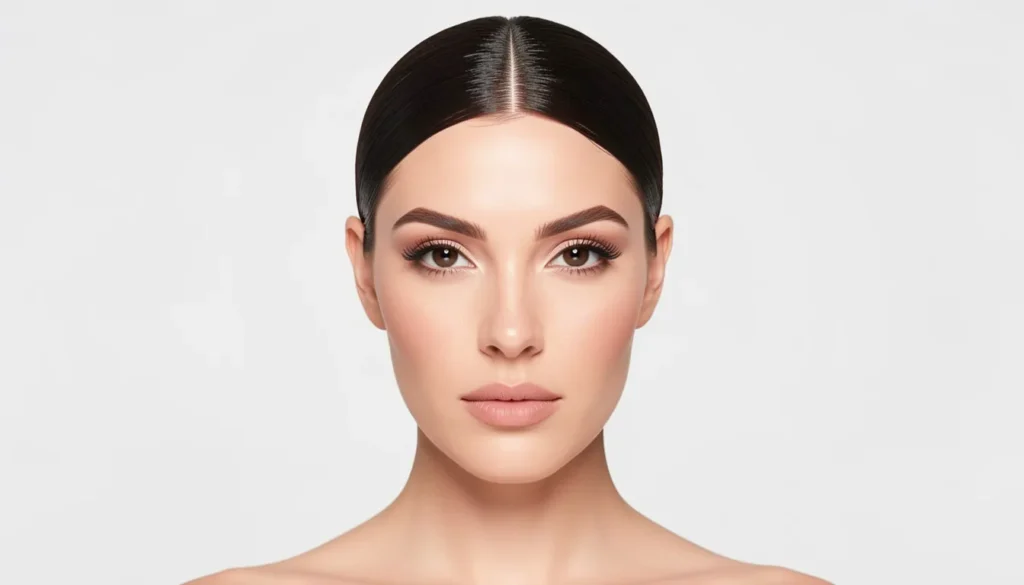
- Ultimate Sophistication: The sleek, clean lines of the bun create an instantly polished and elegant look. It pulls all the hair away from the face, highlighting your bone structure—particularly your cheekbones and jawline.
- Incredible Versatility: This hairstyle is a true chameleon. It looks just as appropriate in a corporate boardroom as it does at a black-tie gala or a casual brunch. You can change its position (high, middle, or low) to alter the vibe completely.
- The Perfect Second-Day Hairstyle: Don’t have time to wash your hair? The natural oils in second- or third-day hair actually provide the perfect texture and grip, making it easier to achieve a sleek, controlled finish.
- Protective Styling: When done correctly without excessive tension, a slicked bun can be a great protective style. It keeps your ends tucked away and protected from environmental damage, friction, and over-manipulation.
Essential Tools and Products for the Perfect Bun
Before you begin, gathering the right arsenal of tools and products is the most crucial step. The “slicked” effect comes from using products that provide both hold and shine.
Must-Have Tools
- Boar Bristle Brush: This is the non-negotiable hero tool for a slicked bun. The densely packed natural bristles are exceptional at smoothing down the hair cuticle, distributing natural oils, and eliminating every last flyaway for a mirror-like finish.
- Fine-Tooth Comb: A fine-tooth comb is essential for creating a precise part and for targeted smoothing around the hairline.
- Strong Hold Hair Elastics: Choose hair ties that will secure your ponytail tightly without snagging or breaking your hair. Fabric-covered or spiral hair ties are excellent options.
- Bobby Pins or U-Pins: You will need these to secure the bun itself and tuck away any stray ends.
Key Styling Products
- Strong-Hold Hair Gel or Mousse: This provides the foundational structure and hold for the style. A gel offers a wetter look and maximum control, while a mousse can provide volume and hold without as much stiffness.
- Hair Pomade or Styling Wax: This is the secret to taming stubborn flyaways and baby hairs around the hairline. A wax stick is particularly useful for targeted, mess-free application.
- Shine-Enhancing Hairspray: A strong-hold hairspray is necessary to lock everything in place. Look for one that also provides a high-gloss finish to complete the sleek look.
- Leave-in Conditioner or Hair Oil: Applying a light layer of leave-in conditioner or a nourishing hair oil before you start can help hydrate the hair and make it more pliable, especially if your hair is dry or frizzy.
Step-by-Step Guide to the Flawless Slicked Bun
Now that you have your tools ready, you can create the perfect bun. This method works for most hair types and can be adapted for different parting styles.
Step 1: Prep Your Hair
The best results often come from hair that isn’t freshly washed. The natural oils provide helpful grip. If your hair is clean and slippery, add some texture with a light mist of texturizing spray or dry shampoo.
Decide on your part. A middle part creates a clean, symmetrical, and very modern look. A deep side part offers a more classic, glamorous vibe. Use your fine-tooth comb to create a crisp, straight part.
Step 2: Apply Your Styling Products
Squeeze a quarter-sized amount of strong-hold gel or mousse into your palms. Rub your hands together and distribute the product evenly through the top section of your hair, from roots to mid-lengths. Focus on the areas that need to be smoothed down. If you have thick or frizzy hair, you may need to apply product in sections to ensure full coverage.
Step 3: Brush and Smooth
This is where the magic happens. Using your boar bristle brush, begin brushing your hair back from your hairline toward the desired position of your bun (high on the crown, in the middle of your head, or low at the nape of your neck).
Use firm, consistent strokes. The goal is to smooth every single strand down flat against your scalp. Follow the brush with your hand to press the hair down as you go. Continue brushing until all lumps and bumps are gone and your hair is perfectly smooth.
Step 4: Secure the Ponytail
Once your hair is completely smoothed back, gather it into a tight ponytail. Hold the ponytail firmly with one hand while you use the other to secure it with a strong hair elastic. Wrap the elastic around several times to ensure it is very secure. Give the ponytail a gentle tug to tighten it further.
Step 5: Create the Bun
There are a few ways to create the bun itself:
- The Twist Method: Twist the entire ponytail tightly in one direction until it begins to coil around itself. Wrap the coiled hair around the base of the ponytail and secure the ends with bobby pins.
- The Braid Method: For extra detail and security, braid the ponytail first. Then, wrap the braid around the base and pin it in place. This is a great option for those with very long or layered hair.
- The Loop Method: On the final pull-through of your hair elastic, don’t pull the ponytail all the way through. Leave it as a loop and wrap the remaining ends around the base to hide the elastic.
Step 6: The Finishing Touches
This final step is what separates a good bun from a great one. Use your styling wax or pomade to tame any remaining flyaways or baby hairs around your hairline. You can use a dedicated edge brush or even a clean toothbrush for precise application.
Finish the entire style with a generous mist of high-shine, strong-hold hairspray. Spray from about 10-12 inches away for even coverage.
Adapting the Slicked Bun for Different Hair Types
Not all hair is the same. You may need to adjust your technique based on your hair’s natural texture and thickness.
For Fine Hair
If you have fine hair, creating volume in the bun itself is key to prevent it from looking too small. Try using a hair donut or “bun maker” to create the illusion of a fuller bun. Backcombing (teasing) the ponytail before twisting it into a bun can also add significant volume.
For Thick or Coarse Hair
With thick hair, the challenge is control. You may need to work in smaller sections when applying your gel or mousse to ensure every strand is saturated. Using two hair elastics to secure your ponytail can provide extra strength. The braid method is often best for creating a secure bun that won’t unravel.
For Curly and Coily Hair
For those with curly hair, it’s best to work on stretched or blow-dried hair for the smoothest result. It’s crucial to use a moisturizing gel that won’t dry out your delicate curls. Deep conditioning beforehand will make the hair more manageable. An edge control product specifically designed for textured hair will be your best friend for laying down the hairline.
For Short Hair
You can still achieve a slicked look with shorter hair. If your hair isn’t long enough to form a full bun, create a small, looped bun or a tiny knot at the nape of your neck. Use extra bobby pins to secure any short layers that pop out.
Is the Slicked Bun Bad for Your Hair? Debunking the Myths
There is a common concern that this hairstyle can cause damage or hair loss. This is only true if the style is done incorrectly or worn too frequently. The issue is not the bun itself, but the tension.
The Dangers of Traction Alopecia
Traction alopecia is a form of hair loss caused by repeatedly pulling on your hair. If you consistently wear extremely tight hairstyles that pull on the hair follicles, it can lead to gradual hair loss, particularly around the hairline.
How to Prevent Damage
- Don’t Make It Too Tight: Your hairstyle should feel secure, not painful. If you have a headache or feel your scalp pulling, your bun is too tight.
- Give Your Hair a Break: Avoid wearing a tight, slicked bun every single day. Alternate it with looser styles like a low ponytail, braids, or wearing your hair down to give your follicles a rest.
- Never Sleep in It: Always take your hair down before you go to bed. Sleeping with your hair in a tight bun can cause significant breakage and stress on the hairline.
- Use Hair-Friendly Tools: Avoid elastics with metal parts that can snag and break hair. Be gentle when brushing and securing your style.
Conclusion
The slicked bun is more than just a hairstyle; it’s a statement of effortless elegance and power. It’s a look that combines practicality with high fashion, making it an indispensable tool in any style repertoire. By mastering the core techniques and using the right products, you can achieve a flawless, long-lasting look that highlights your best features.
Remember to prioritize the health of your hair by avoiding excessive tension and giving your scalp regular breaks. Now that you have the ultimate guide, you can confidently create a perfect slicked bun for any occasion, proving that true style is often beautifully simple.
Frequently Asked Questions (FAQs)
Q1: Can I create a slicked bun on wet hair?
Yes, creating this style on damp or wet hair can result in a very sleek, almost “glass hair” finish once it dries. Apply your gel or mousse to wet hair, brush it back, and secure it. The style will set as your hair dries.
Q2: What’s the best product to tame stubborn flyaways?
A styling wax stick or a strong-hold pomade is best for targeted control of flyaways. A great trick is to spray a bit of strong-hold hairspray directly onto a boar bristle brush or a clean toothbrush and then gently brush down the stray hairs.
Q3: How do I get my bun to stay in the middle of my head?
To create a mid-level bun, flip your head upside down and brush all of your hair forward. Gather the ponytail at the crown of your head while still upside down. When you flip back up, the base will be perfectly centered.
Q4: My hair is layered. How do I keep the short pieces from sticking out of my bun?
The braid method is excellent for layered hair, as it contains the shorter pieces within the braid. You can also use U-shaped hairpins, which are better at securing larger sections of hair than traditional bobby pins. A final mist of strong-hold hairspray is also essential.
Q5: How can I make my slicked bun look less severe?
For a softer look, pull out a few thin, face-framing tendrils before you apply your gel. You can leave these straight or give them a gentle wave with a curling iron. Positioning the bun lower, at the nape of your neck, also creates a softer, more romantic vibe.
Sofia Bennett is a fashion content creator known for her refined perspective on style, trends, and modern elegance. She specializes in curating content that blends timeless fashion principles with contemporary aesthetics, helping readers develop confidence through personal style. Sofia’s work spans outfit styling, wardrobe essentials, and fashion inspiration, always with an emphasis on authenticity and practicality. Her approachable voice and eye for detail make fashion accessible, empowering readers to express themselves with confidence and sophistication.